From a sentence to a prototype-ready part
Six guided chapters take you from your very first prompt to exporting real CAD files — each one illustrated with an actual project generated in AiCadGen.
Start where you build. Mechanical parts (Chapters 1–3)·Buildings & floor plans (Chapter 4)·Interiors & products (Chapter 5)
Generate your first part
Every project starts with one plain-English prompt. AiCadGen turns it into a real, parametric solid you can rotate, inspect, and export — no CAD experience required.
- Turn one sentence into a watertight parametric solid.
- Read the geometry behind it in the Code and Features panels.
- 1Create a new project
From the dashboard, click New project and pick a type (mechanical part, drawing, or floor plan). Give it a name.
- 2Describe what you want
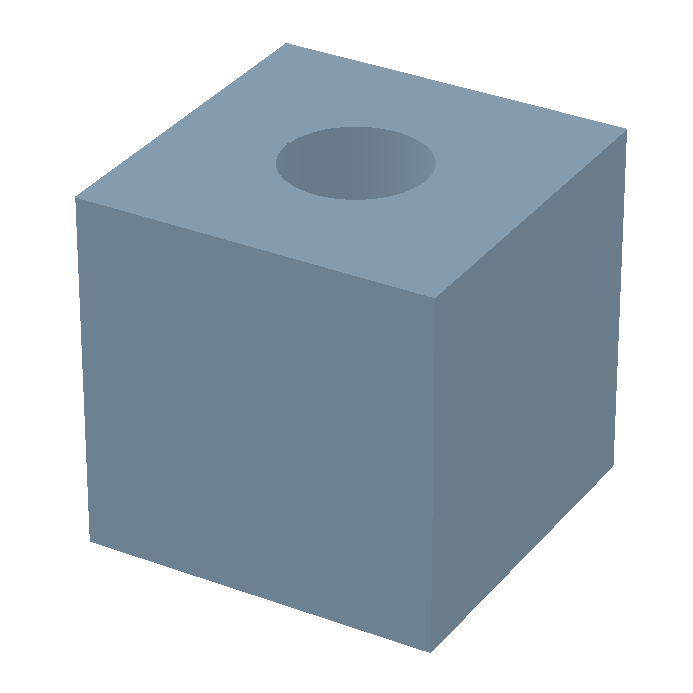
Write it like you would to a machinist: “A 20 mm cube with a 6 mm through-hole centered on the top face.” Dimensions and units make it precise.
- 3Generate
Hit Generate. AiCadGen writes parametric CAD code, runs it in a sandbox, and renders a watertight solid in seconds.
- 4Inspect the result
Drag to orbit, scroll to zoom. Switch to the Code or Features panel to see the exact geometry behind the model.
Pro tip. Be specific about units and reference faces. “6 mm hole, centered, through the top face” beats “add a hole” every time.
A real 20 mm cube with a 6 mm through-hole — generated from a single sentence.
Refine by chat & Plan mode
You rarely nail a design in one shot — and you don’t have to. Keep chatting to change dimensions, add features, or tighten tolerances. Each refinement keeps what worked and only updates what you asked for.
- Refine a live model one change at a time, without starting over.
- Lock a full spec with Plan mode before spending a build.
- Roll back to any earlier version, free.
- 1Iterate in plain language
“Increase the ring gear to 60 teeth,” “add a 5 mm mounting flange,” “loosen the bore fit by 0.2 mm.” The model updates in place.
- 2Plan first for complex parts
Open Plan mode to converse and lock a full spec before generating. Great for assemblies where the details matter — then Generate from the plan.
- 3Roll back anytime
Every generation is versioned. Compare iterations and restore any earlier version if a change went the wrong way.
Pro tip. Change one thing per message. Small, explicit refinements are far more reliable than a paragraph of edits at once.
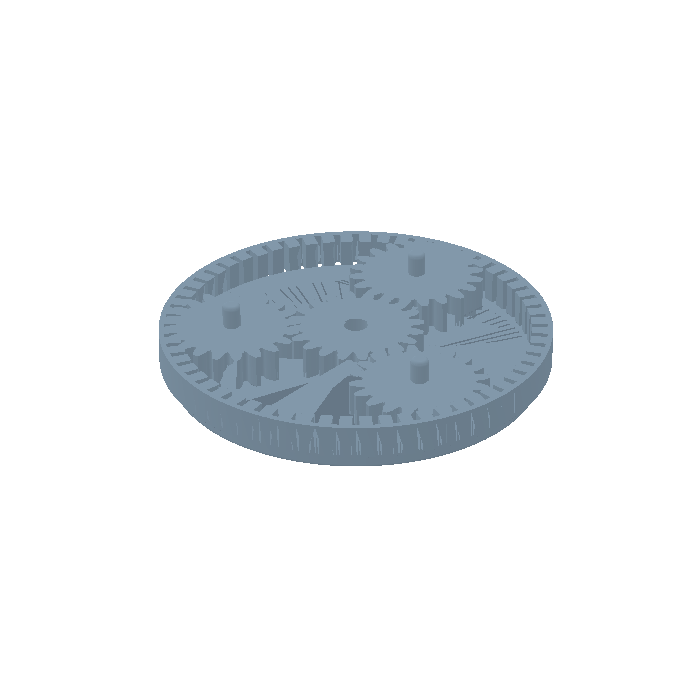
A planetary gearbox — module 1.5 mm, 20° pressure-angle involute spur gears — refined over several chat turns.
When it comes out wrong
First drafts are drafts. Five ways they miss — and the one-message fix for each.
- 1Draft
Generate from a plain sentence.
- 2Verify
Check the numbers with Smart Dimensions.
- 3Refine
Tell it one change per message.
Wrong shape or proportions
The AI built what the words said, not what you pictured. Refine in this chat — say what to change, one thing per message — or attach a reference photo or sketch, which anchors a shape far better than words.
$Refine this: the ⟨part⟩ should be ⟨shape / orientation / proportion⟩
Right shape, wrong dimensions
Check the real sizes with Smart Dimensions in the viewer, then state the number and unit explicitly. If a dimension you stated came out different, tell support — that one is on us.
$Change one dimension: the ⟨feature⟩ should be ⟨N⟩ mm
Missing a feature (hole, thread, fillet, pocket, text)
Ask for the specific feature with position and size. Very complex single parts do better split into an assembly of parts.
$Add ⟨feature⟩ — e.g. an M6 hole 15 mm from the left edge, through the base
Assembly parts overlap, float apart or are mis-aligned
Nudged out of place? Use the Move tool: select the part, reposition or rotate it, then Save — the assembly and exports rebuild. Badly wrong? Refine with the mating relationship spelled out.
$Refine the fit: ⟨part A⟩ should ⟨mate — e.g. slip fit in the bore, flush with the outer face⟩ of ⟨part B⟩
Nudge it yourself: Move tool → select the part → Save.
The downloaded file will not open in your CAD or slicer
Usually a format mismatch, not a bad model: STEP for CAD editing, STL/3MF for printing, DXF for laser or CNC. Faceted mesh exports are mesh resolution — the STEP carries the true geometry.
$The export doesn’t work in ⟨program⟩ — which format should I download, and why?
The loop is the product. Chapter 2 shows it live, on a real gearbox.
See this loop in the StudioBuild multi-part assemblies
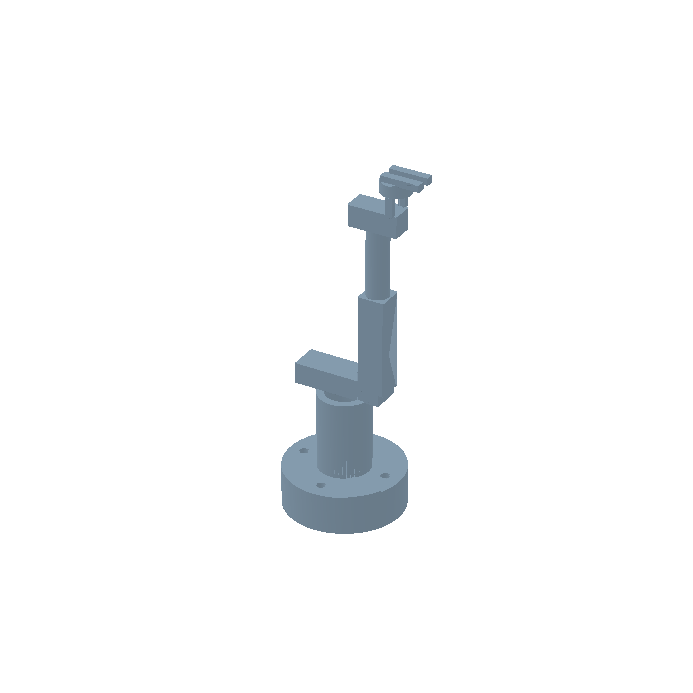
Ask for a whole product and AiCadGen designs it part-by-part — each component modelled on its own, then positioned into a fitting assembly you can explode and export piece by piece.
- Generate a whole product as fitted, printable components.
- Explode, isolate, and regenerate any single part.
- 1Ask for the full product
“Design a touchless sensor bin as four printable parts.” AiCadGen breaks it into components and models each with correct fits.
- 2Explode & inspect
Toggle the exploded view to see how parts mate. Select any component to isolate, transform, or regenerate just that piece.
- 3Match a reference image
Attach a photo or sketch and AiCadGen matches proportions — ideal for reverse-engineering an enclosure or a bracket.
Pro tip. Name the parts you expect (“body, lid, hinge, cover”). Explicit part lists produce cleaner, better-fitting assemblies.
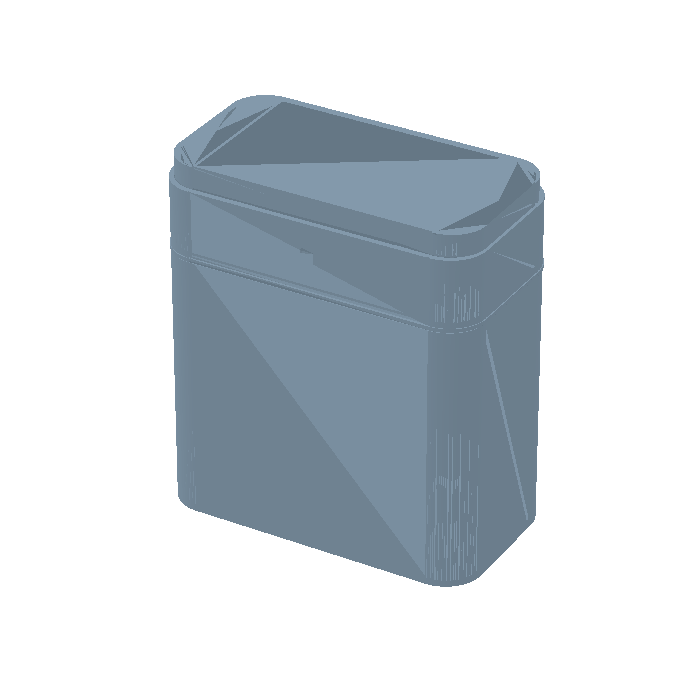
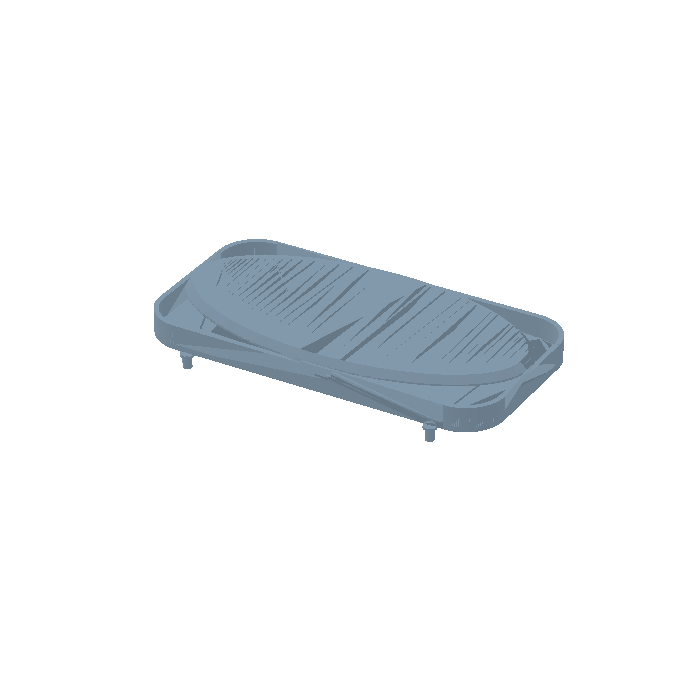
A touchless sensor bin — four fitted components (body, chassis, lid base, flap) designed as one assembly.
Floor plans & MEP overlays
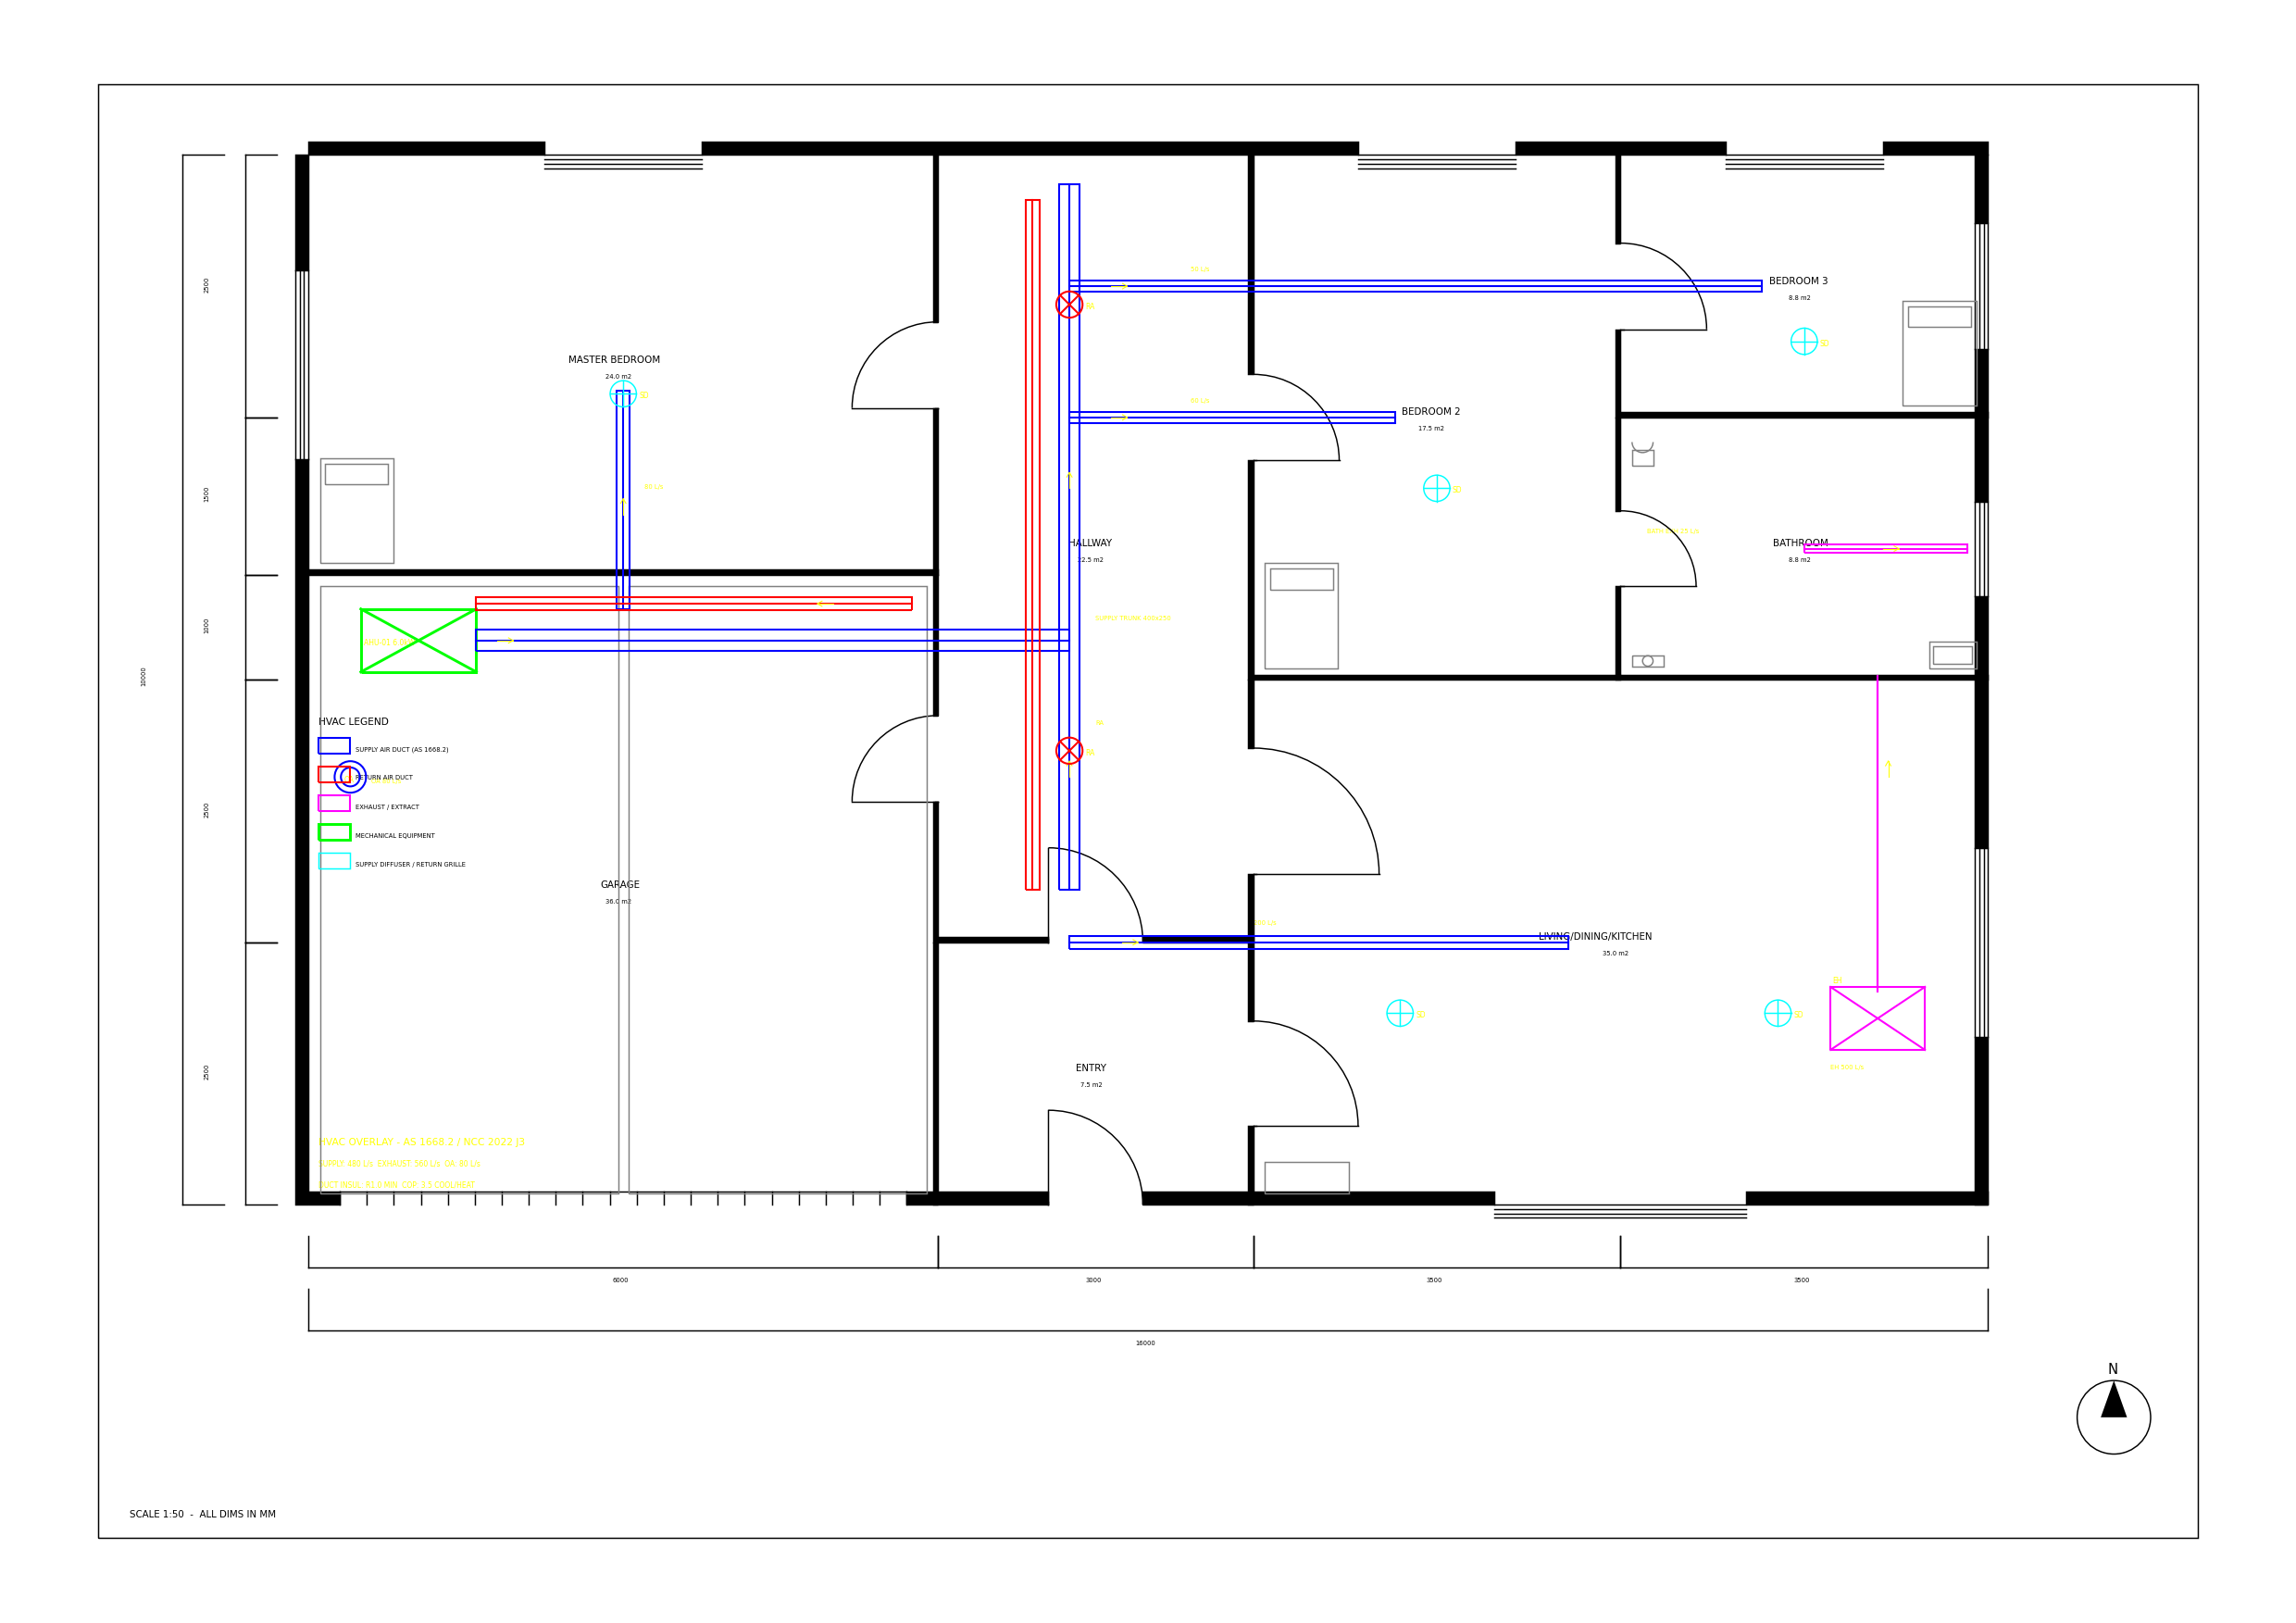
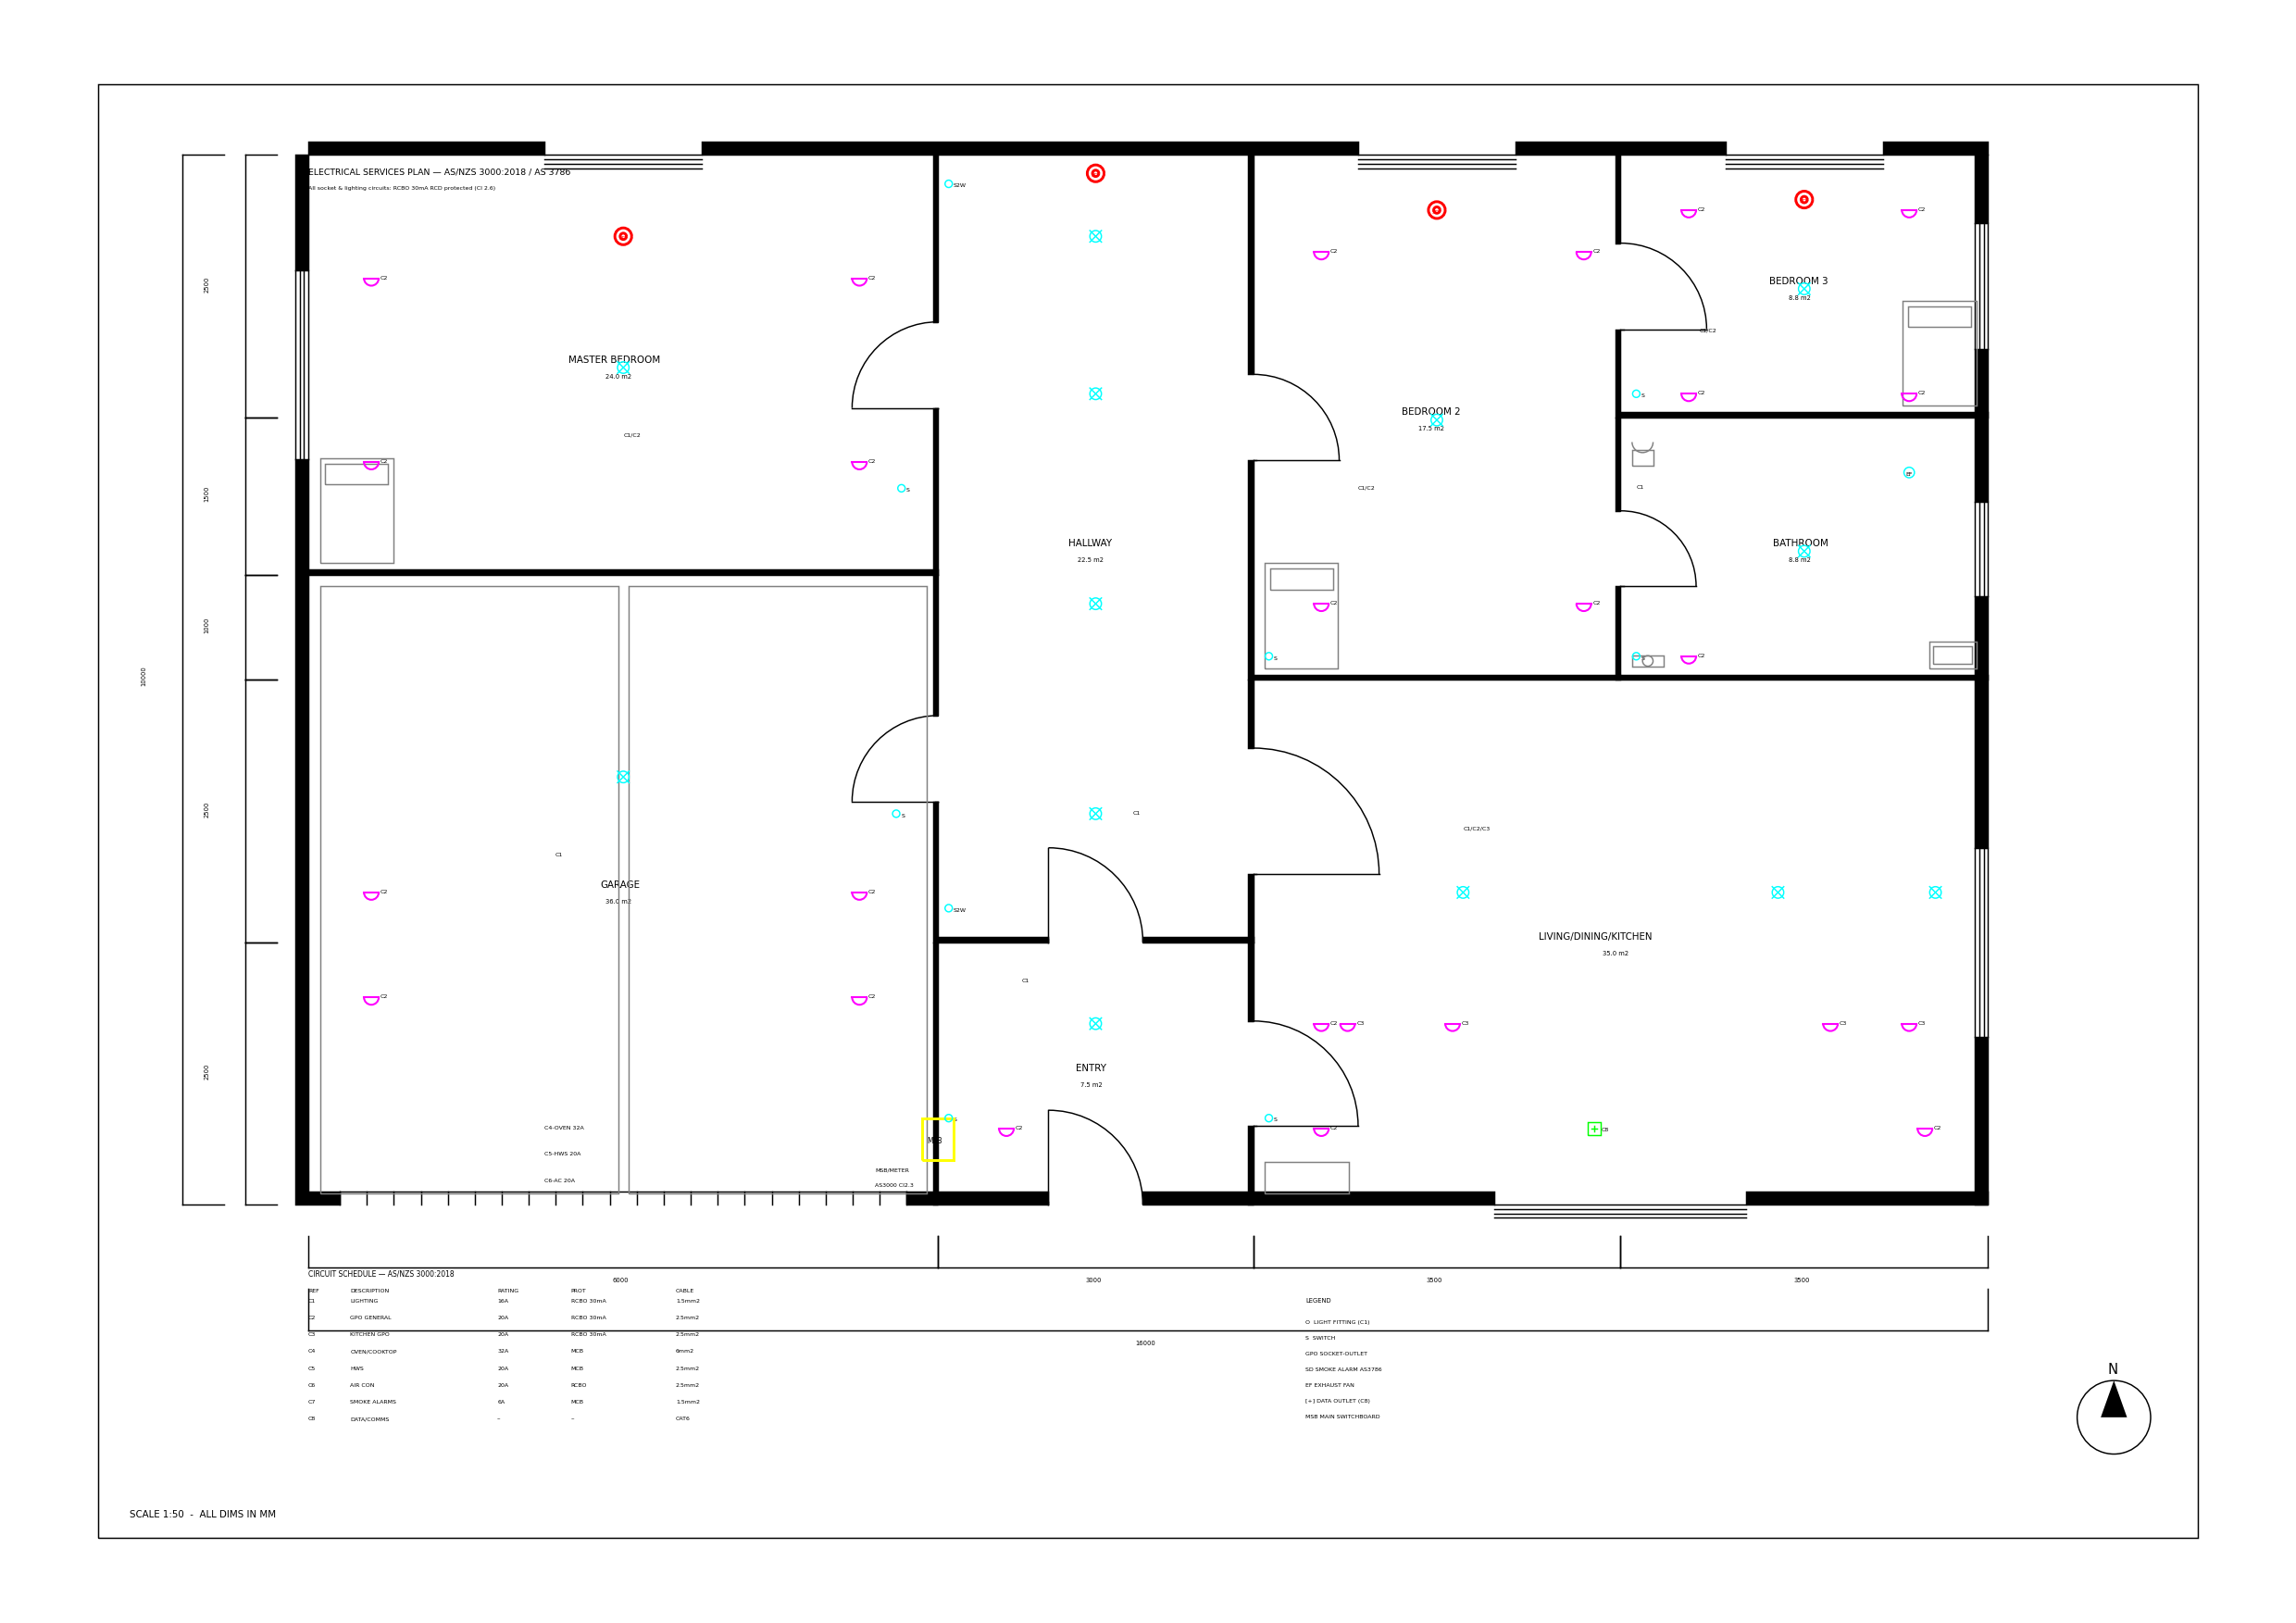
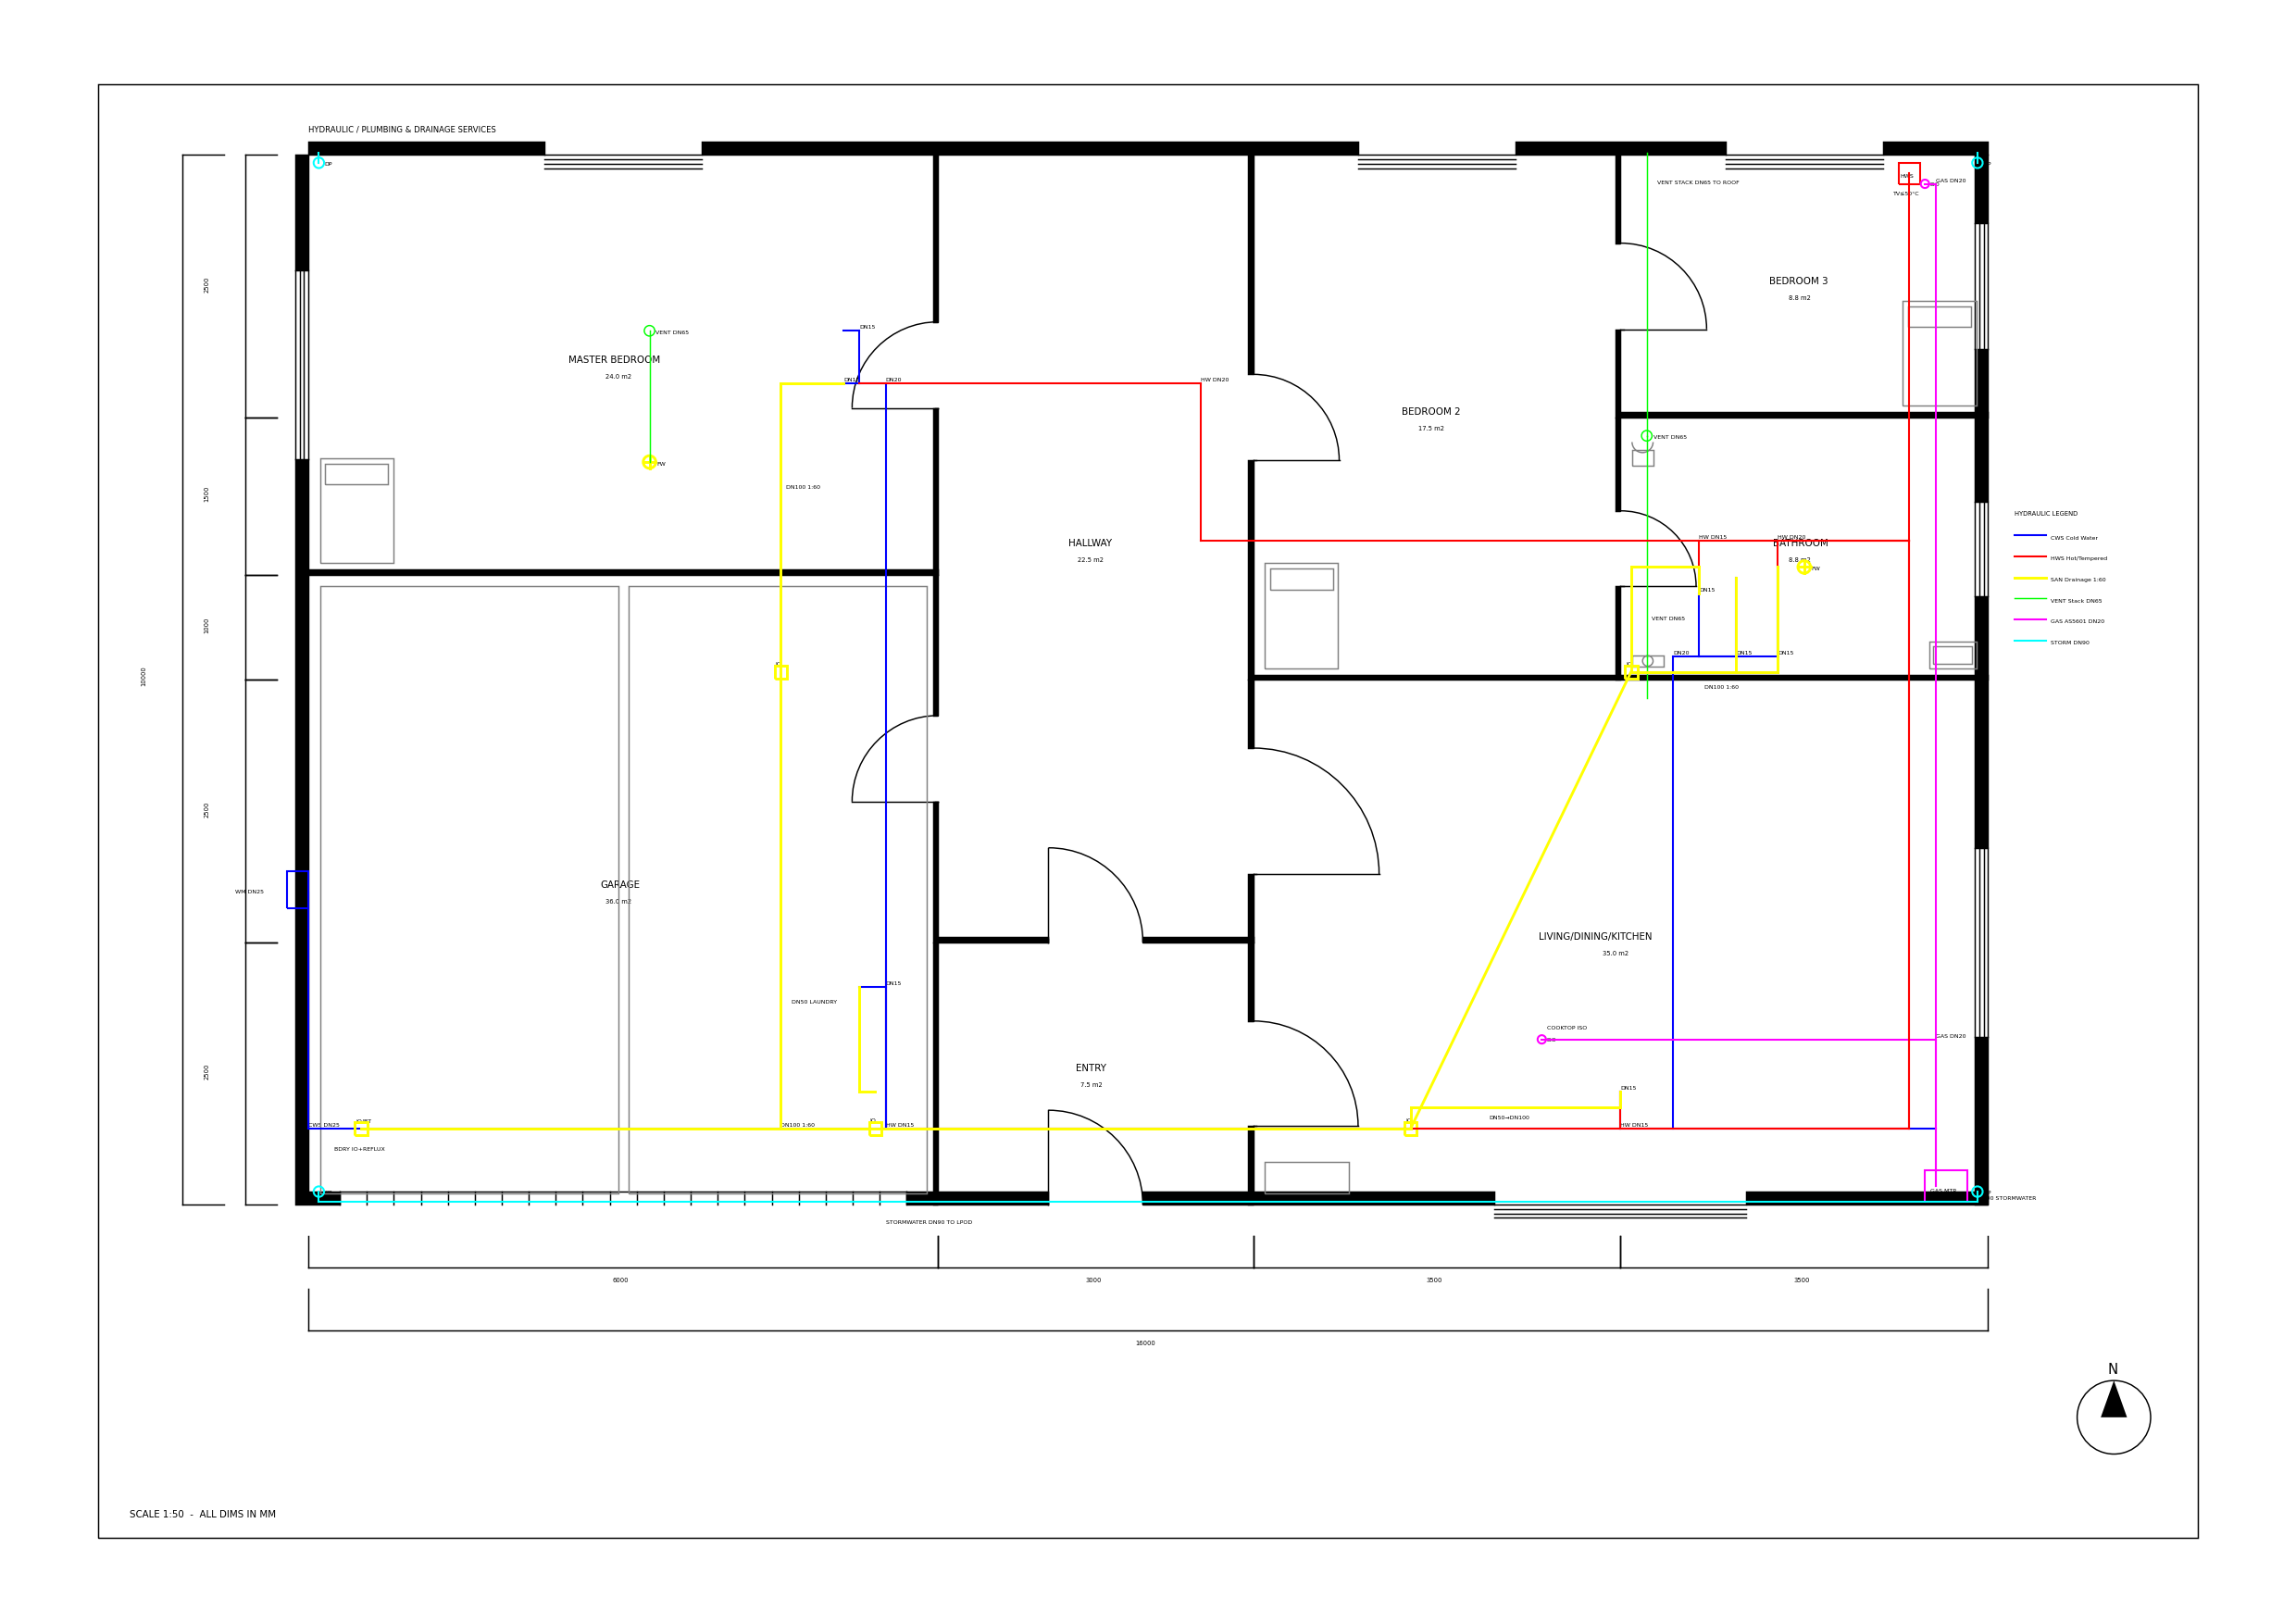
AiCadGen isn’t only for parts. Generate standards-aware floor plans, then layer HVAC, electrical, plumbing, and structural services on top — and take any plan into 3D or a dimensioned drawing.
- Draft a dimensioned, standards-aware floor plan from a brief.
- Layer HVAC, electrical, and plumbing services on one plan.
- Take any plan to 3D or a titled DXF/PDF drawing.
- 1Describe the building
“3-bed single-storey home, double garage, open-plan living, ~180 m².” AiCadGen lays out rooms, walls, doors, and dimensions.
- 2Add service overlays
From one plan, generate HVAC, electrical, plumbing, or structural overlays — each drawn to the relevant standard on its own layer.
- 3Take it to 3D or a drawing
Turn any floor plan into a 3D model or a titled, layered DXF/PDF drawing ready for documentation.
Pro tip. State total area and storeys up front. Constraints like “~180 m², single storey” keep the layout realistic and to scale.
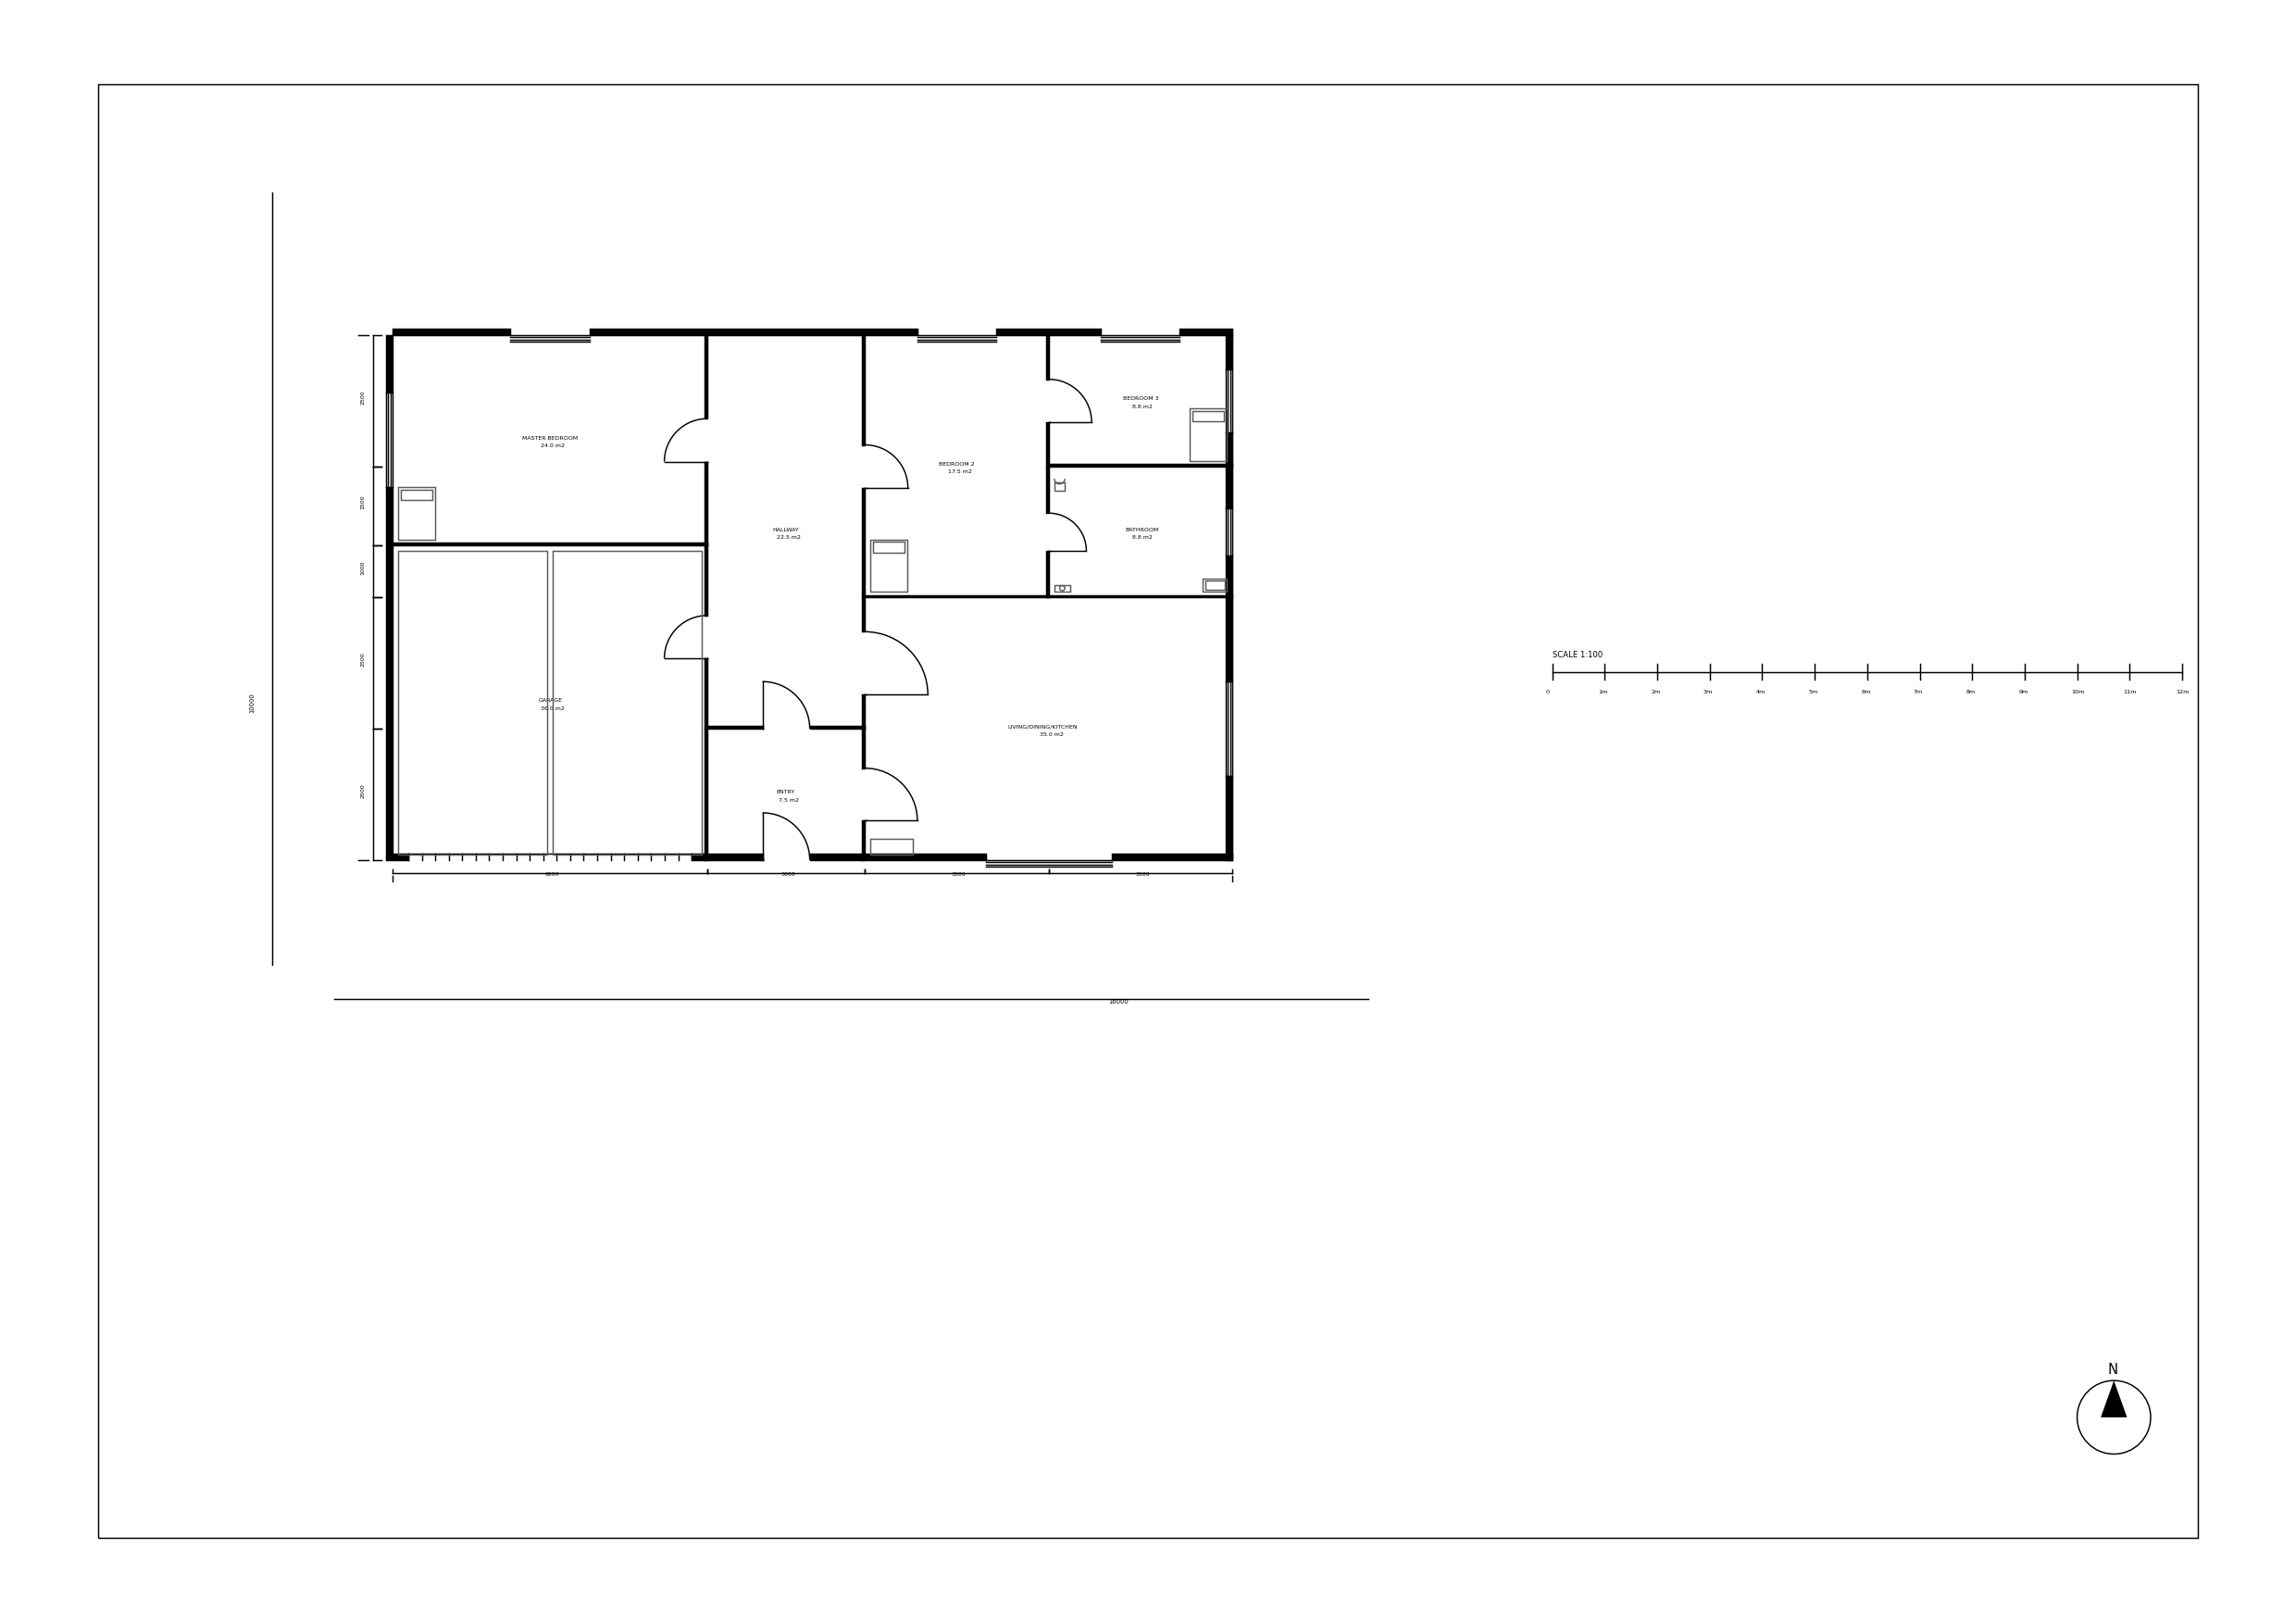
A 3-bedroom single-storey home — dimensioned to AS1100, generated from a written brief.
Decor & organic 3D scenes
For furniture, product concepts, and full interior scenes, the Decor wizard generates rich organic meshes — not just prismatic parts — so you can visualise a space, then drop back to a scaled plan.
- Generate a full interior or product scene as an organic mesh.
- Pair the scene with a matching, to-scale floor plan.
- 1Start the Decor wizard
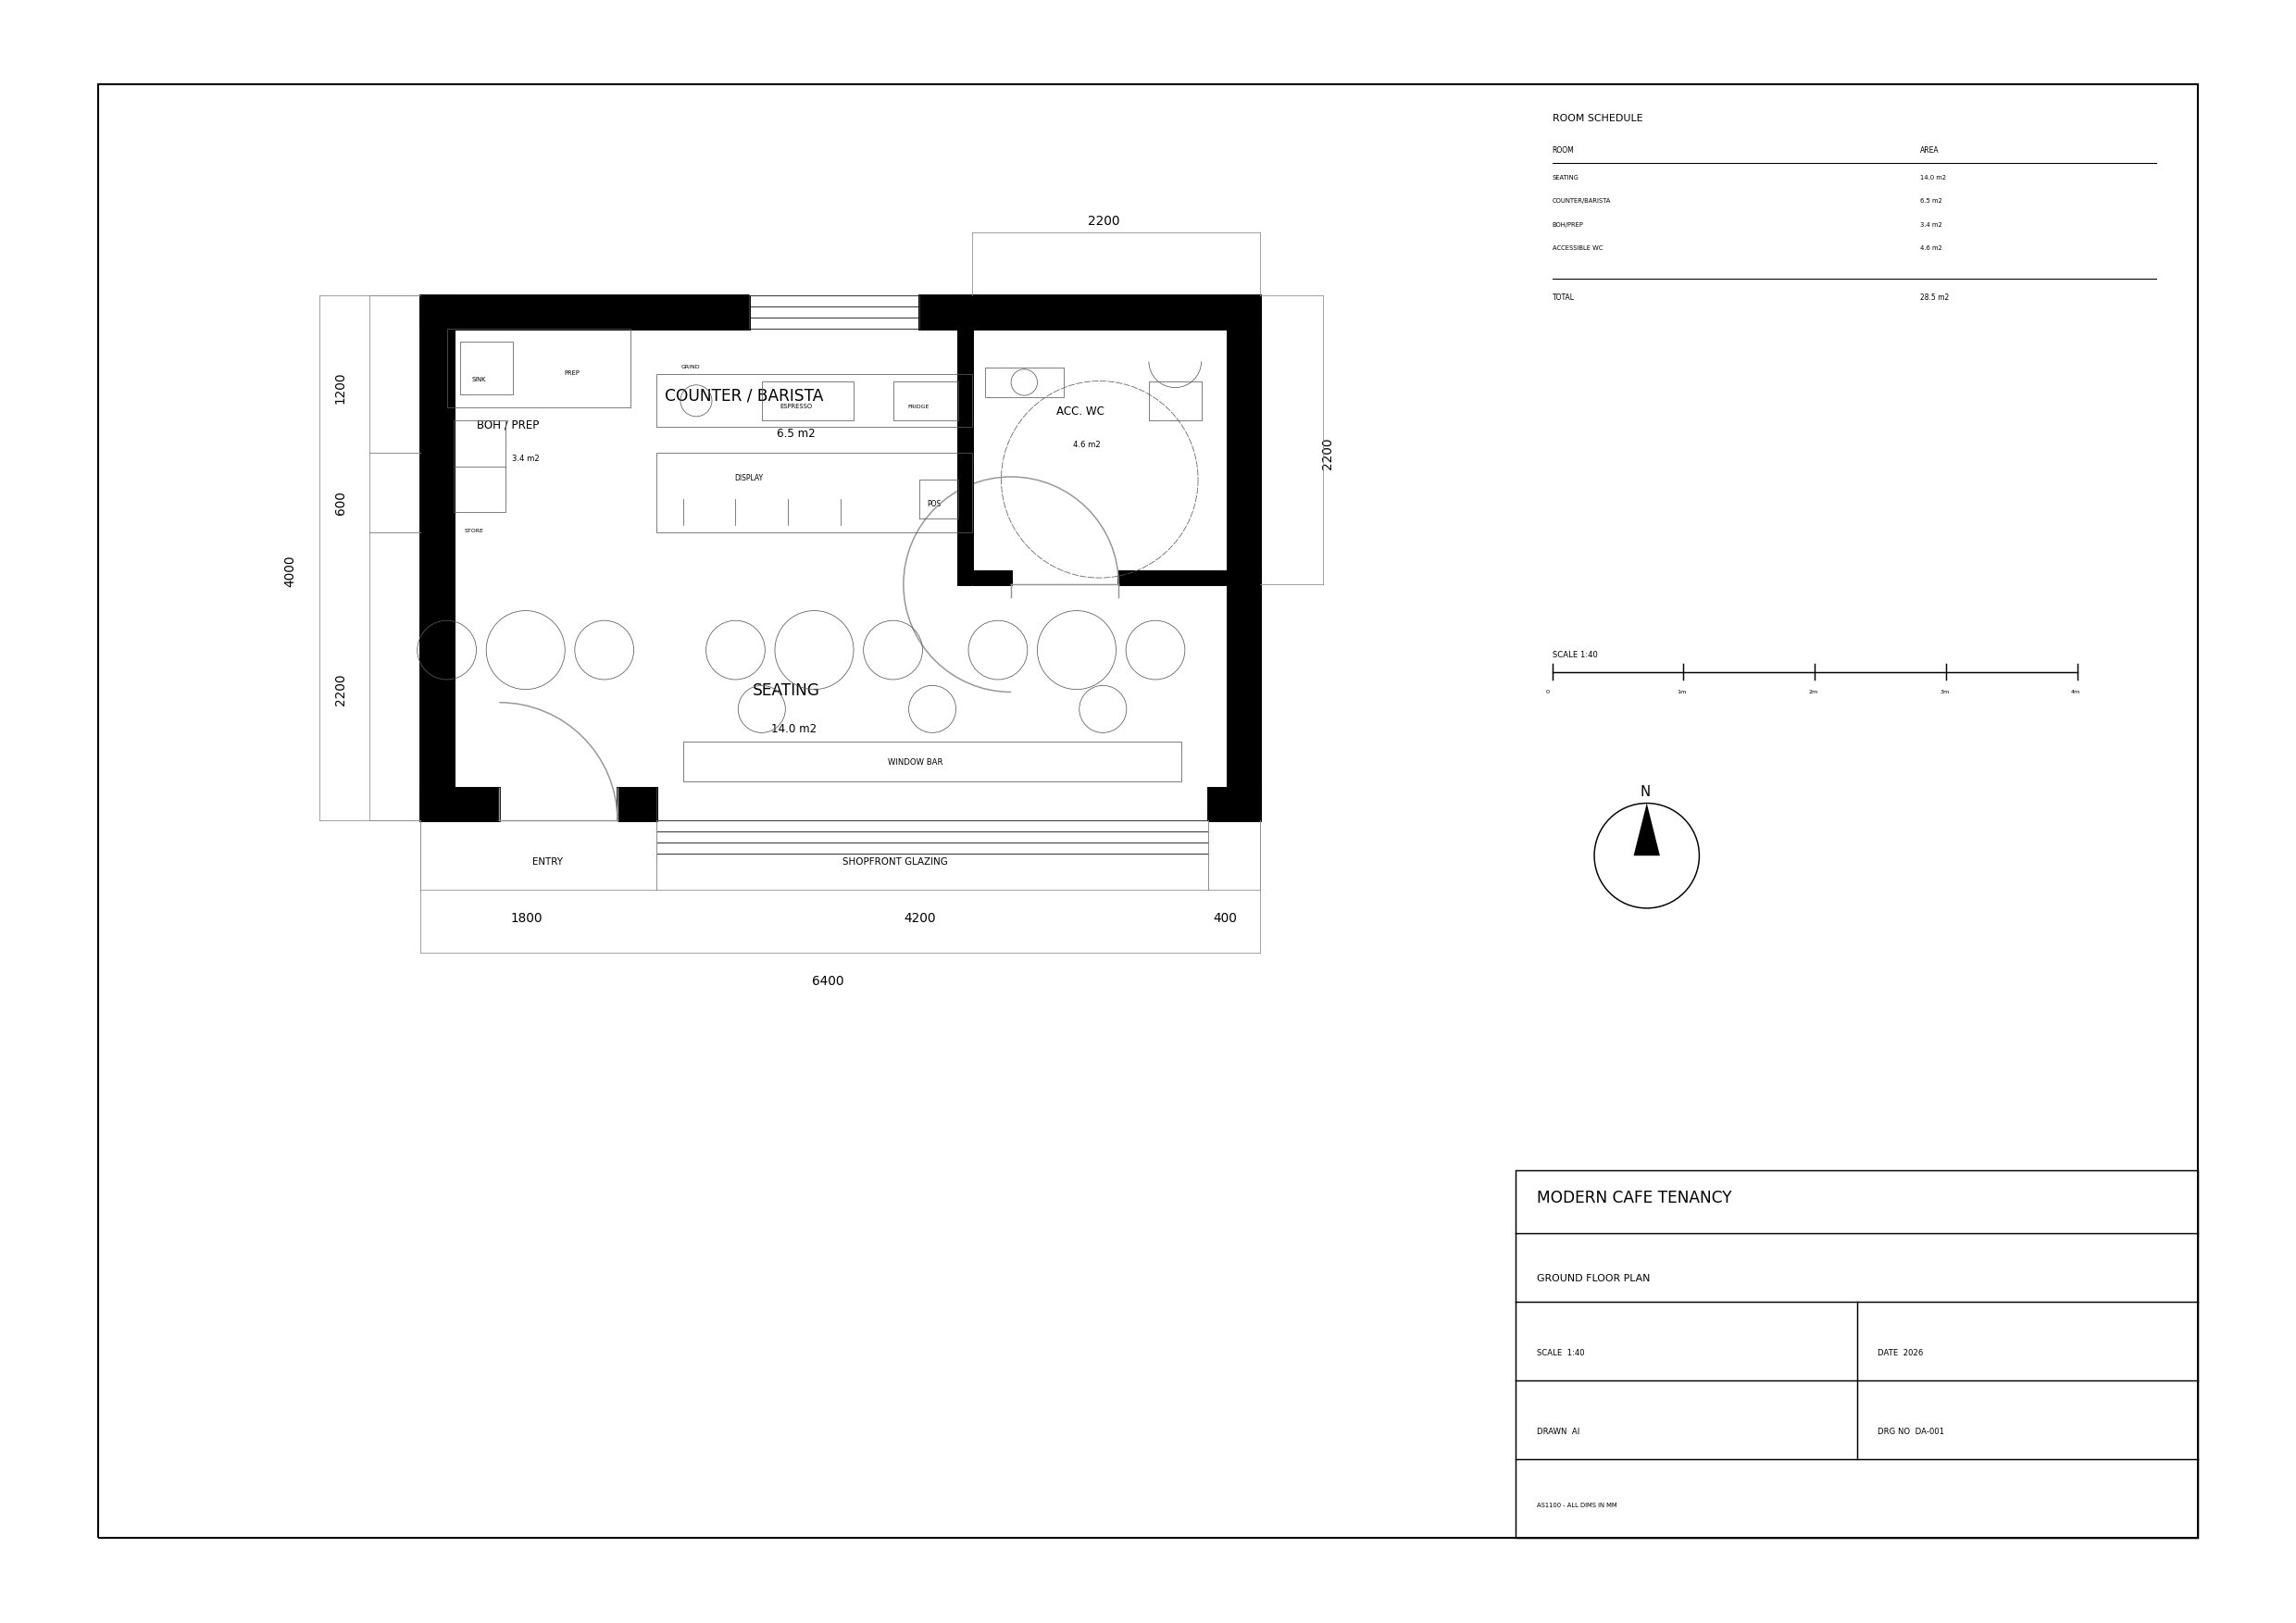
Pick Decor and describe the space or object: “Modern cafe interior, 6.4 m × 4 m tenancy, counter along the left wall.”
- 2Generate an organic scene
AiCadGen produces a rich, upright 3D mesh you can orbit — furniture, fixtures, and finishes included.
- 3Pair it with a scaled plan
Generate the matching floor plan for the same brief to move between look-and-feel and buildable dimensions.
Pro tip. For interiors, give the room footprint and a few anchor pieces. The wizard fills in a coherent, on-scale scene around them.
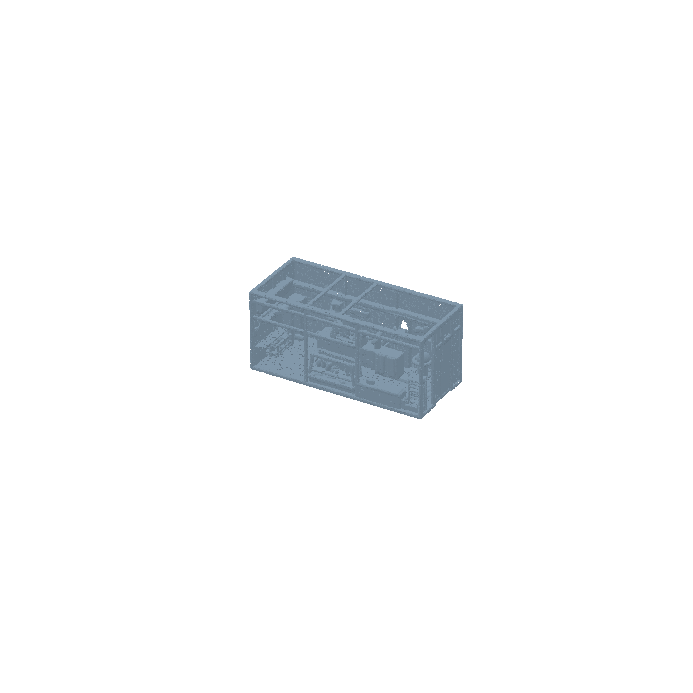
A modern cafe interior — a full 3D scene generated from a tenancy brief.
Export, print & manage credits
When a design is ready, members download the full file set in every major format — or order a physical print. Every plan includes monthly credits.
- Pick the right format for CAD, printing, or visualisation.
- Order a physical print without leaving the Studio.
- 1Download your files
Happy with the result? Members download every format on every design — no per-file unlock.
- 2Download real CAD files
Grab STEP (solid B-rep), STL/3MF (printing), DXF/PDF (drawings), or GLB/OBJ (visualisation). Open them in Fusion, SolidWorks, or a slicer.
- 3Refine by chat
Not quite right? Tell the chat what to change — a dimension, a hole, a wall — and it rebuilds the design.
- 4Pick the plan that fits
Memberships start at $5/mo with monthly credits and unlocked exports. Manage it any time from the balance pill.
Pro tip. Export STEP for downstream CAD work and STL for printing — they’re different jobs. Membership includes both on every design.
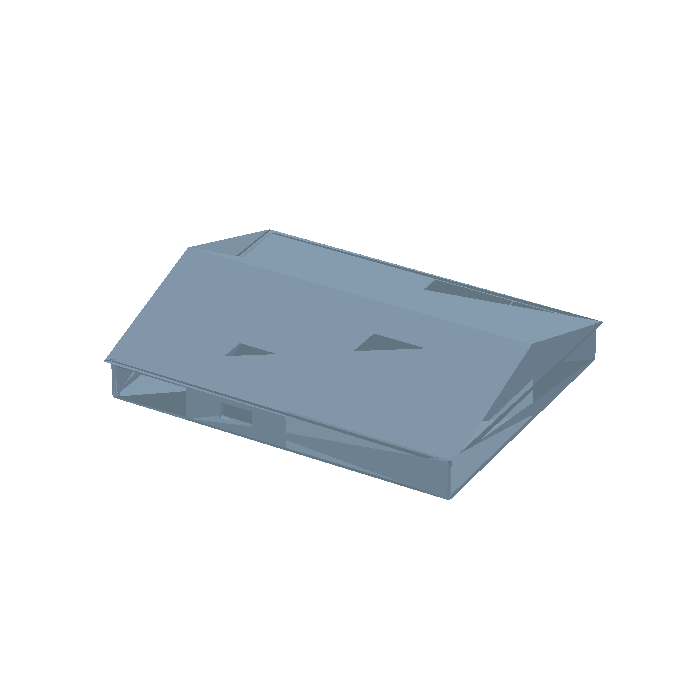
A luxury two-storey house model — ready to export as STEP, STL, DXF, or GLB.
Ready to build something?
You’ve seen the whole workflow. Open the Studio and turn your first idea into a real CAD file — free to start.